
How to Store Your RV During Winter
How to Store Your RV During Winter
Proper winter storage is one of the best ways to protect your RV and avoid expensive repairs in the spring.
Cold temperatures, snow, moisture, rodents, and long periods without use can affect plumbing, batteries, tires, seals, appliances, and interior materials. Whether you own a Class A diesel motorhome, a Class C, or a smaller camper van, a careful winterization process helps keep your RV ready for the next travel season.
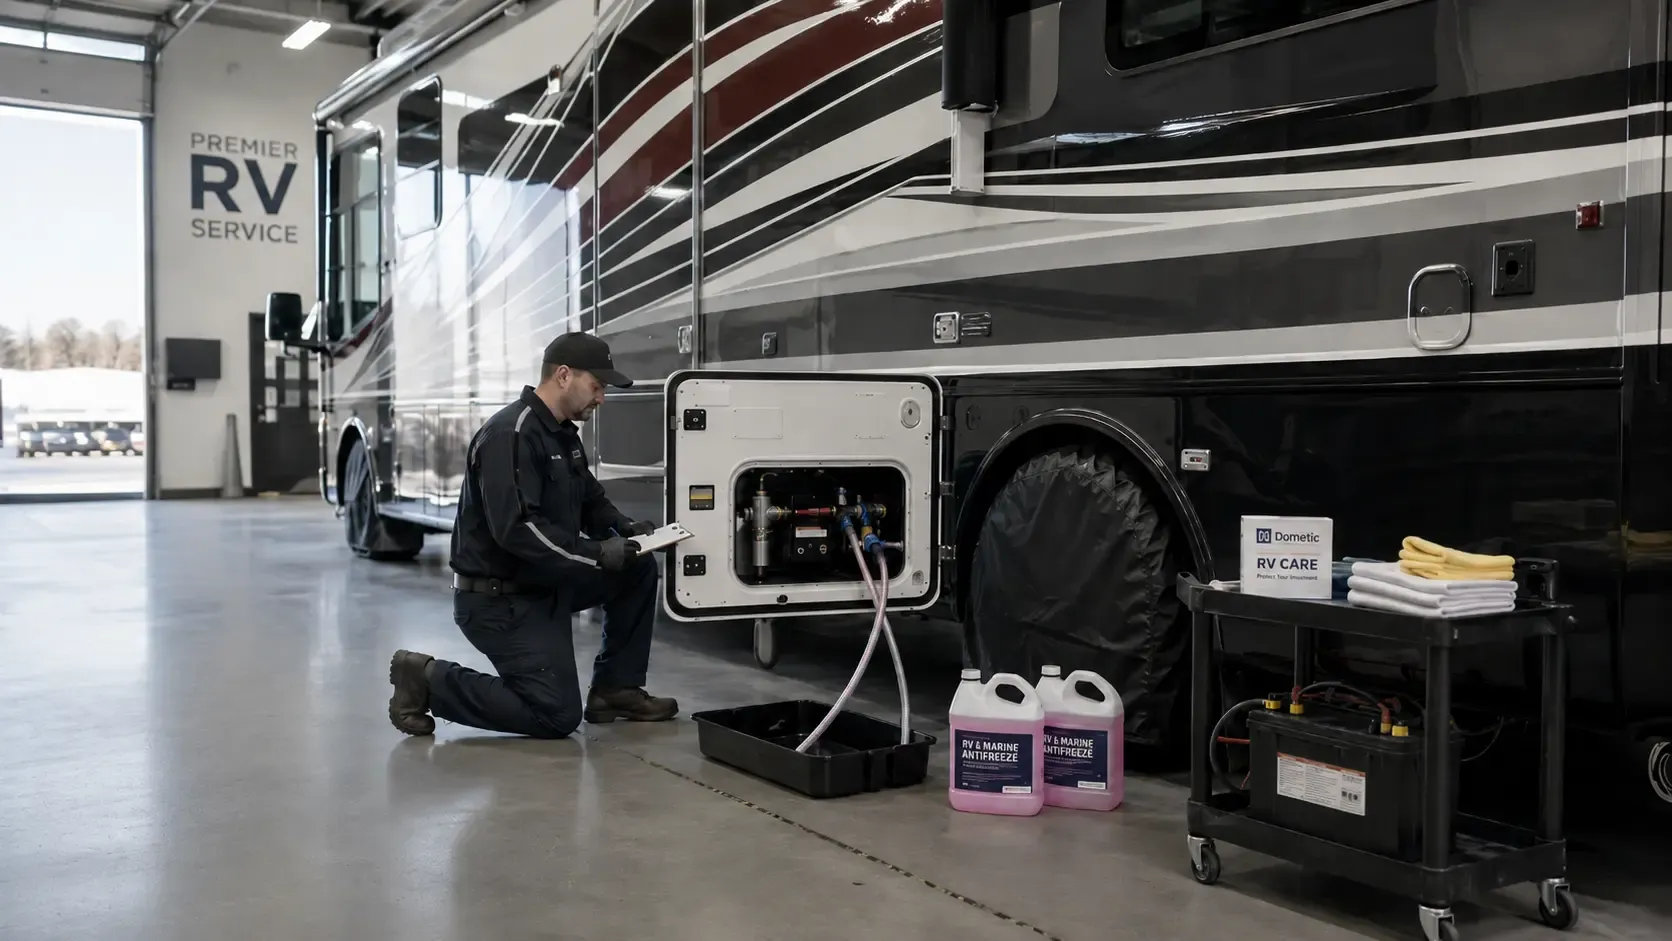
1. Winterize the Plumbing System
Frozen water is one of the most common causes of winter damage.
If water remains inside pipes, valves, faucets, tanks, or the water heater, freezing temperatures can cause cracks and leaks. Repairs may involve replacing plumbing lines, fittings, pumps, or even interior components.
A standard winterization process usually includes:
- Draining the fresh-water tank
- Draining the water heater
- Emptying gray and black tanks
- Bypassing the water heater, if applicable
- Using RV-safe antifreeze in plumbing lines
- Running antifreeze through faucets, shower fixtures, toilet, and outside shower
- Pouring a small amount of antifreeze into sink and shower drains
Only use antifreeze specifically made for RV plumbing systems. Automotive antifreeze should never be used in a fresh-water system.
2. Protect the Batteries
Batteries can lose charge during storage, especially in cold weather.
Before storing your RV, inspect both the house batteries and chassis batteries. Make sure terminals are clean, connections are secure, and there are no signs of corrosion or damage.
Helpful battery-storage steps include:
- Fully charging batteries before storage
- Disconnecting batteries or using the RV’s battery disconnect switch
- Using a quality battery maintainer when power is available
- Checking battery voltage periodically
- Keeping battery compartments clean and dry
A properly maintained battery is much more likely to hold its charge and perform well when travel season begins again.
3. Inspect Tires and Maintain Proper Pressure
RV tires carry a large amount of weight, and long periods of sitting can create flat spots or cause pressure loss.
Before winter storage:
- Check tire pressure and inflate tires to the recommended storage pressure
- Inspect sidewalls for cracks, dry rot, or visible damage
- Avoid parking on wet soil or mud when possible
- Use tire covers to protect against sunlight and weather exposure
- Consider moving the RV slightly from time to time if it will sit for several months
Tires should also be checked by date code. A tire may look acceptable on the outside while still being older than recommended for RV use.
4. Inspect the Roof and Exterior Seals
Water intrusion can be one of the most costly RV problems.
Before storing your RV, inspect the roof, roof seams, vents, skylights, windows, slide-outs, compartments, and exterior seals. Look for cracked sealant, loose trim, damaged caulking, or signs of water staining inside the coach.
Pay close attention to:
- Roof edges and seams
- Air conditioner gaskets
- Plumbing vents
- Antennas and satellite equipment
- Slide-out seals
- Window seals
- Exterior storage doors
Repairing a small seal issue before winter can prevent a much larger water-damage repair later.
5. Control Moisture Inside the RV
Moisture inside a closed RV can lead to mildew, odors, damaged fabrics, and mold growth.
Before storage, clean the interior thoroughly and remove food, drinks, trash, towels, and other items that can hold moisture or attract pests.
To reduce interior humidity:
- Leave cabinet doors slightly open for airflow
- Use moisture absorbers or dehumidifiers
- Remove or wash bedding and fabrics when possible
- Clean the refrigerator and leave the doors slightly open
- Make sure all windows, vents, and roof openings are properly closed
- Check the RV periodically during storage
A dry, clean interior is much easier to maintain and much more pleasant when it is time to travel again.
6. Protect Against Rodents and Insects
Rodents can cause major damage inside an RV. They may chew wiring, insulation, hoses, seat materials, and stored belongings.
Before winter storage:
- Remove all food, snacks, pet food, and trash
- Vacuum floors, cabinets, and storage areas
- Seal obvious openings where pests may enter
- Check around plumbing lines, storage bays, and undercarriage access points
- Use approved rodent-control products where appropriate
- Inspect the RV regularly for droppings, nesting material, or chewed wiring
Do not rely on one product alone. The best protection is cleanliness, sealing entry points, and regular checks.
7. Prepare the Generator and Engine
A generator should not be ignored during winter storage.
Depending on the manufacturer’s recommendations, owners may need to check oil condition, fuel level, fuel stabilizer requirements, and service intervals before the RV sits for an extended period.
For the engine and generator:
- Check oil and fluid levels
- Review the owner’s manual for fuel-storage guidance
- Add fuel stabilizer if recommended
- Run the generator periodically if appropriate for the unit
- Inspect belts, hoses, and visible connections
- Make sure exhaust areas are clear and protected
Diesel and gasoline RVs can have different storage needs, so always follow the manufacturer’s maintenance guidance for your specific chassis and generator.
8. Choose the Right Storage Location
The best storage location depends on your climate, budget, and RV size.
Indoor Storage
Indoor storage provides the strongest protection from snow, sun, hail, rain, and temperature changes. It can help preserve paint, seals, tires, and the roof over time.
Covered Storage
Covered storage offers good protection from direct sunlight and precipitation while usually costing less than a fully enclosed building.
Outdoor Storage
Outdoor storage is often the most affordable option, but it requires more preparation. Use tire covers, inspect seals carefully, and consider a properly fitted RV cover only if it is designed for your type of coach and will not trap moisture or damage exterior surfaces.
9. Create a Winter Storage Checklist
Before closing the RV for the season, confirm that you have completed the following:
- Plumbing system winterized
- Fresh, gray, and black tanks emptied
- RV-safe antifreeze added where needed
- Batteries charged, disconnected, or on maintainers
- Tires inflated and protected
- Roof and seals inspected
- Interior cleaned and moisture controlled
- Food and trash removed
- Rodent entry points checked
- Generator and engine prepared
- Insurance and registration reviewed
- Storage location secured
Final Thoughts
Winter storage is not just about parking your RV until spring. It is an important part of protecting your investment.
A few hours spent winterizing the plumbing, checking batteries, protecting tires, sealing the roof, and controlling moisture can help prevent expensive repairs later.
When spring arrives, your RV will be cleaner, safer, and much more likely to be ready for the road.